Preheat the oven to 400°F. Make sure to check the temperature of the oven floor with the infrared thermometer.
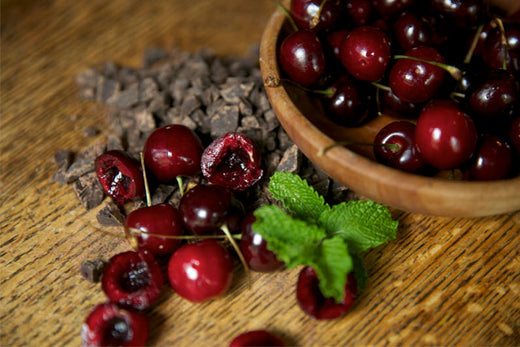
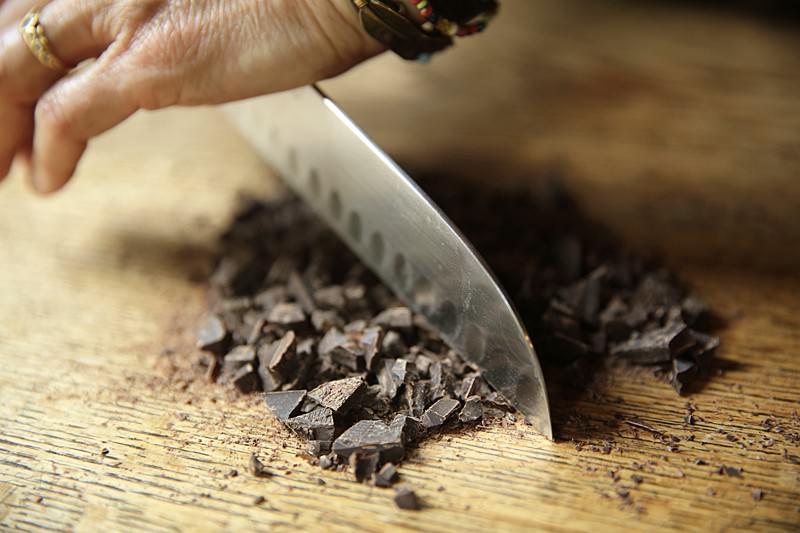
Coarsely chop the dark chocolate.
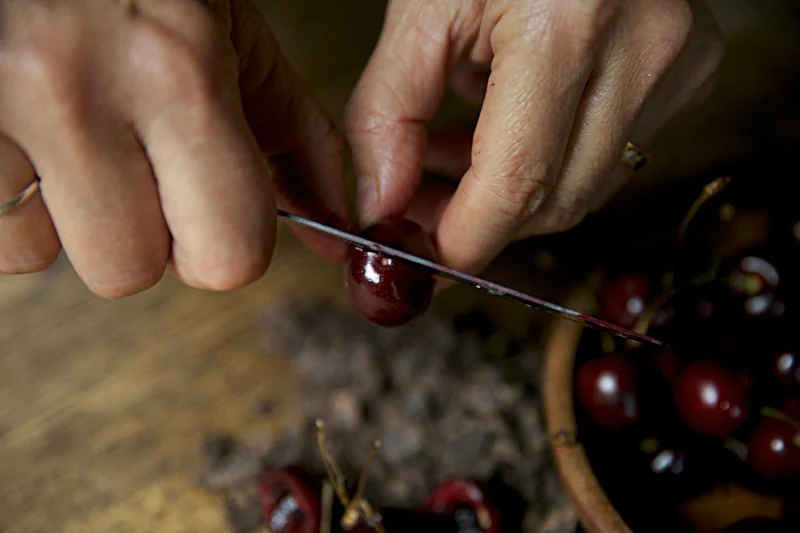
Cut the cherries in half.
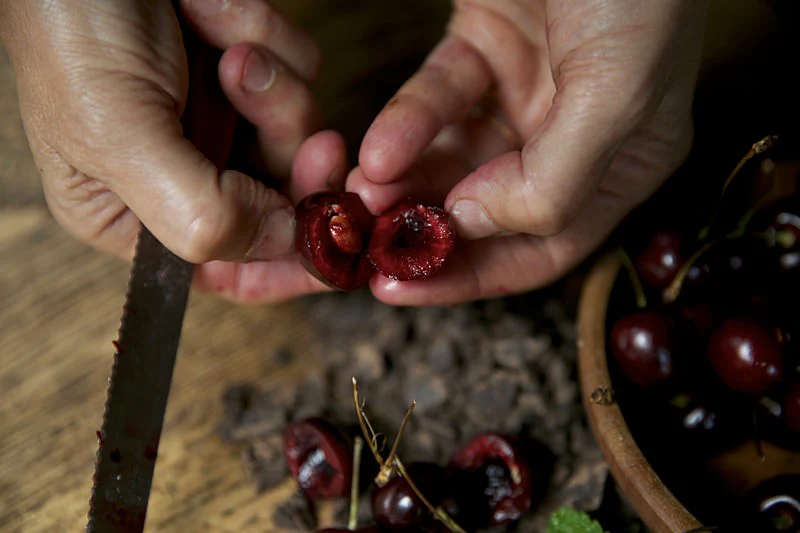
Remove the pit with either a sharp knife or a very small spoon.
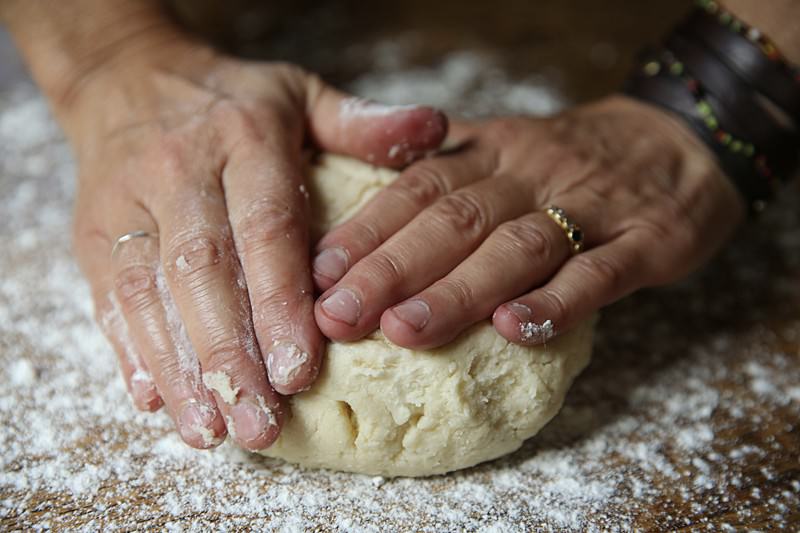
If you have not made the dough, following is the link to the step by step Scone Recipe. When the dough is ready, it is time to flour the surface of the work space where it will be placed.
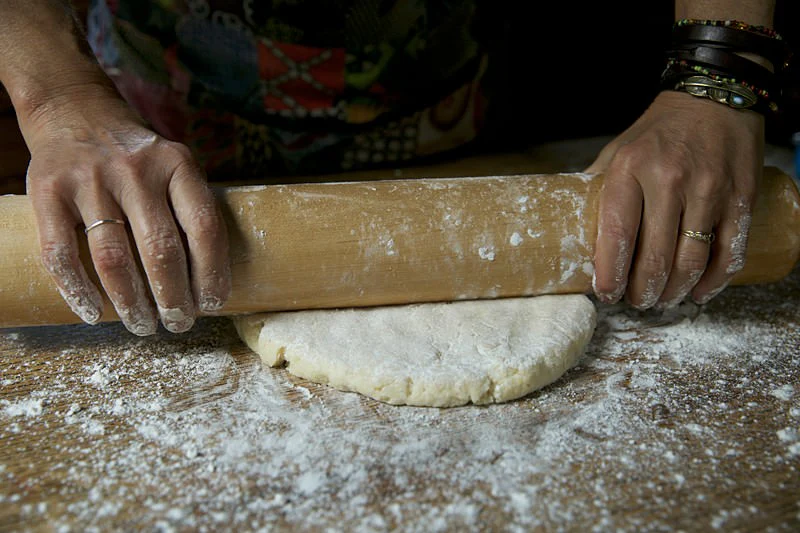
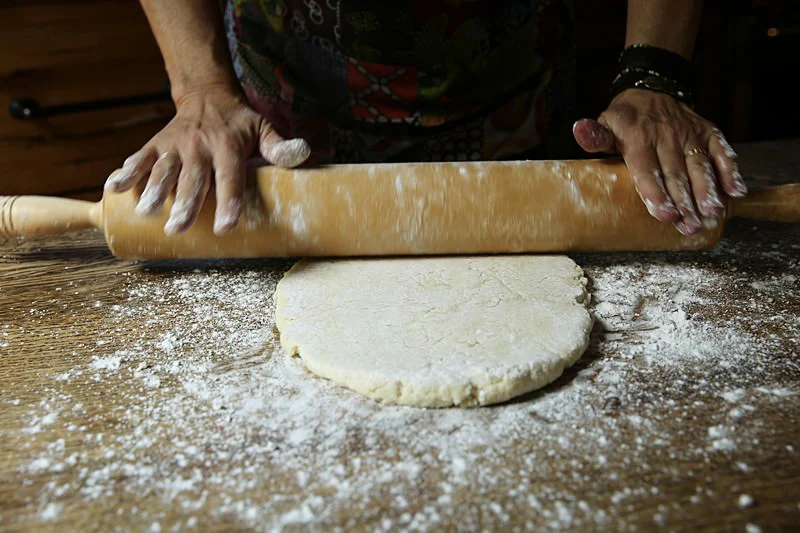
Lightly flour the surface of the dough as well as the rolling pin. Gently begin to roll it out.
In order to avoid crushing the fruit, we have chosen to roll the plain dough out to a thinner thickness. Doing this enables you to place the fruit directly on the dough thus leaving the berries as intact as possible. If the dough is too stiff from being chilled, you can soften it by hitting the surface of the dough with the rolling pin. This will relax the butter in the dough and allow it to be rolled out easily.
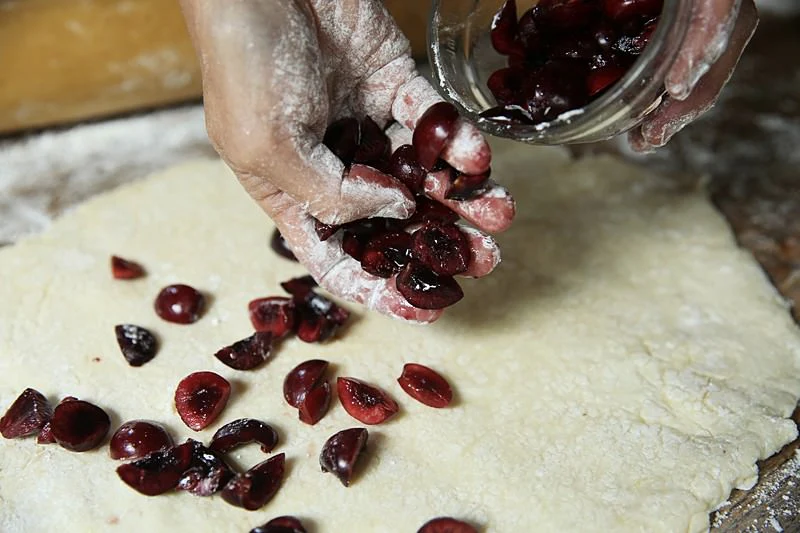
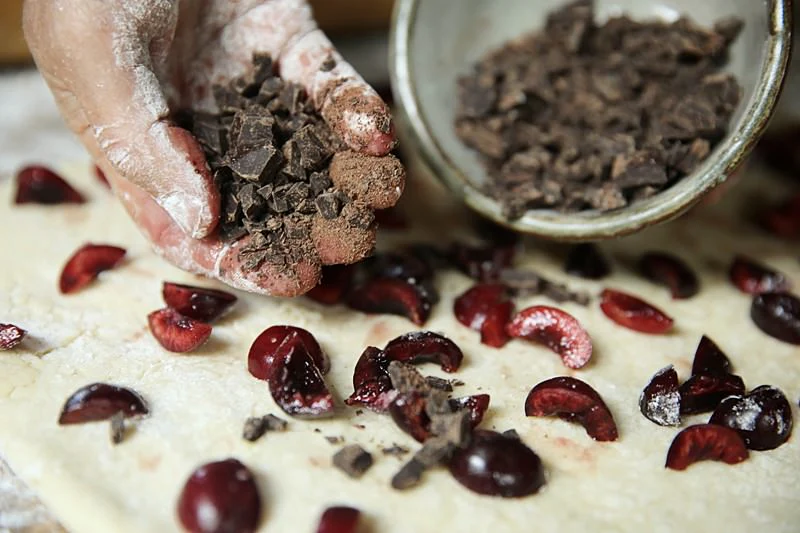
It is now time to add the fruit. Once the pit is removed, cut the cherries into smaller pieces and spread them evenly over the dough.
For the final filling, sprinkle the chocolate over and around the cherries.
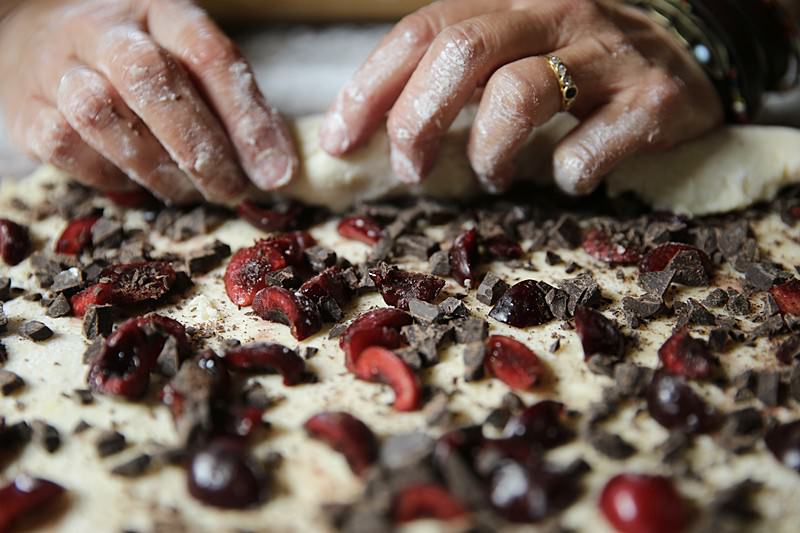
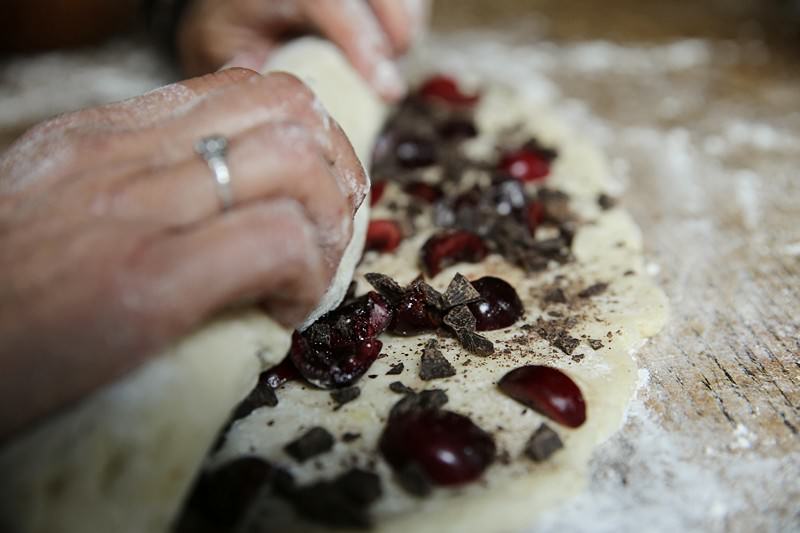
Begin to fold the dough on itself as if you were making cinnamon rolls.
Continue rolling the dough making sure all ingredients stay inside.
You can use a spatula or dough cutter to carefully lift the dough from the work surface if it is sticking.
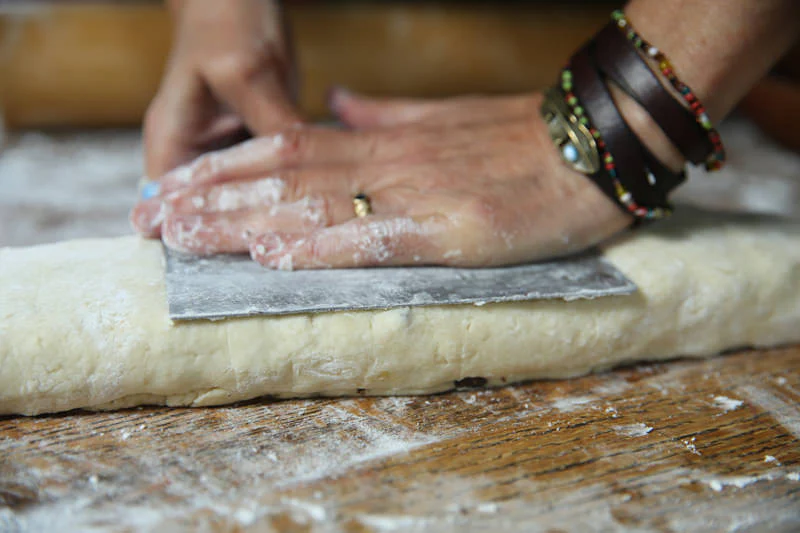
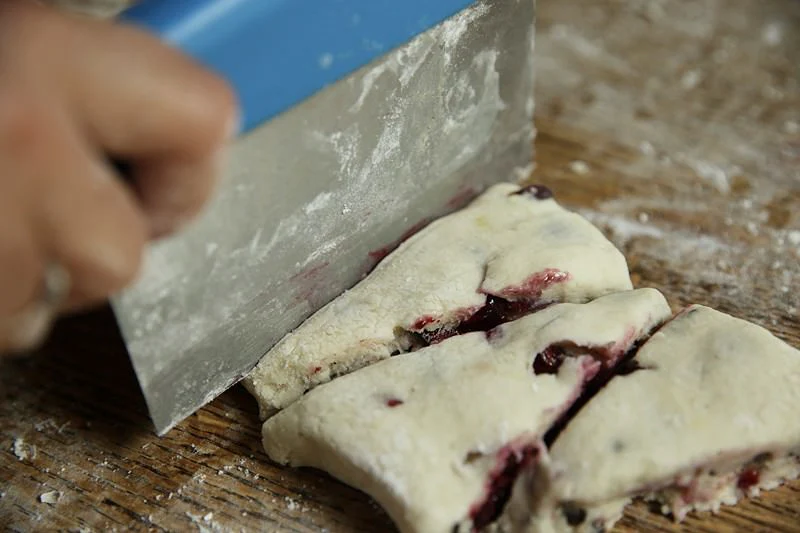
Gently press down the rolled up dough with the dough cutter in order to flatten the surface, creating a long rectangle.
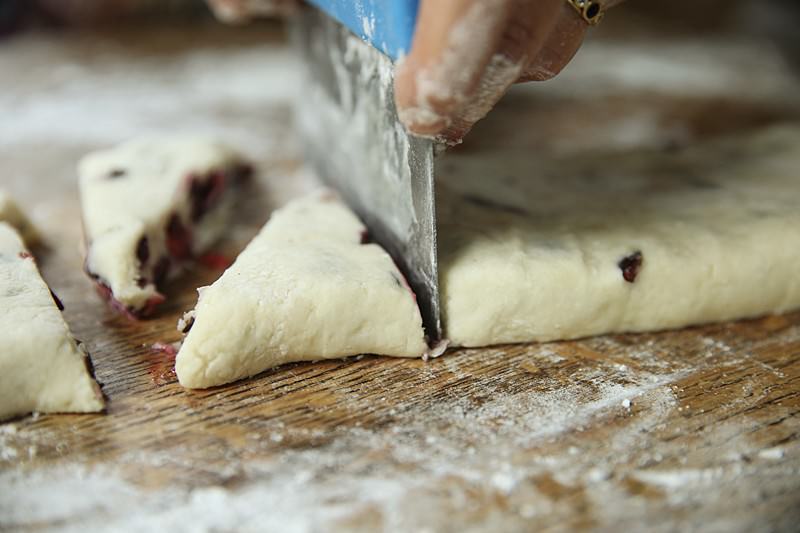
Time has come to cut the dough into even triangles.
Dust the dough cutter or spatula with flour to avoid sticking.
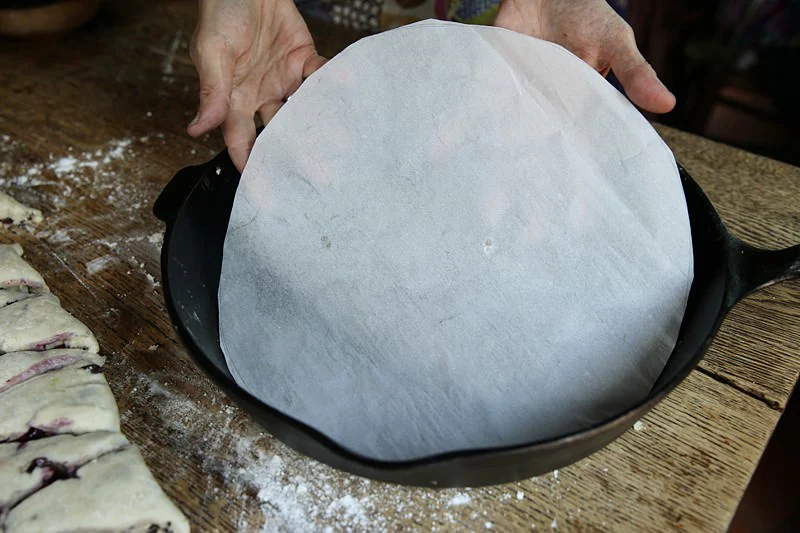
Place parchment paper in the bottom of the skillet.
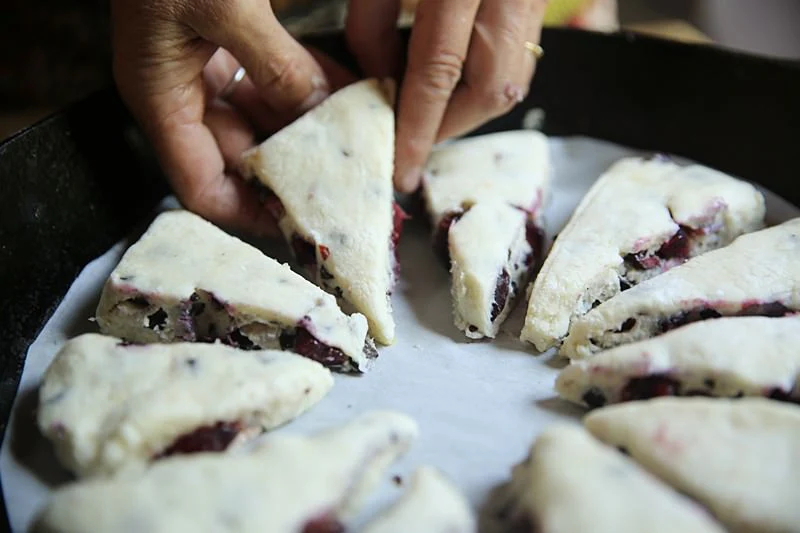
Carefully transfer each triangle on the parchment paper inside the cast-iron skillet.
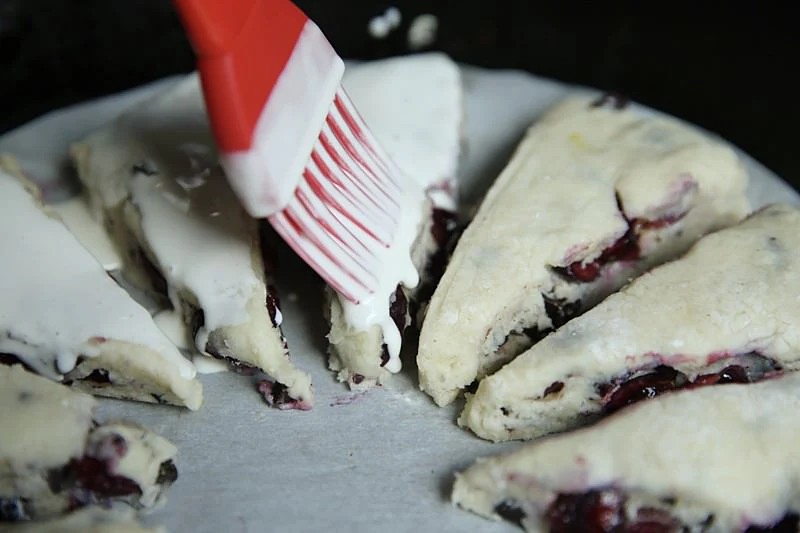
Spread the cream over the scones with a brush.
Sprinkle sugar over the top of the scones.
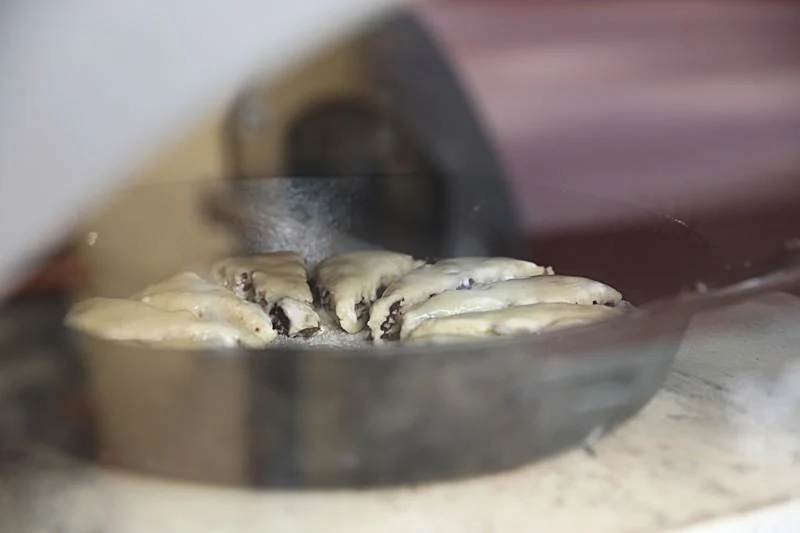
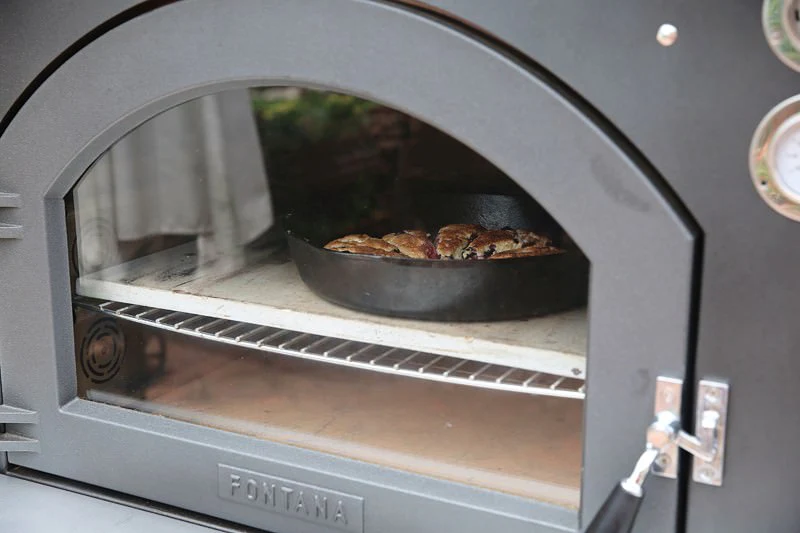
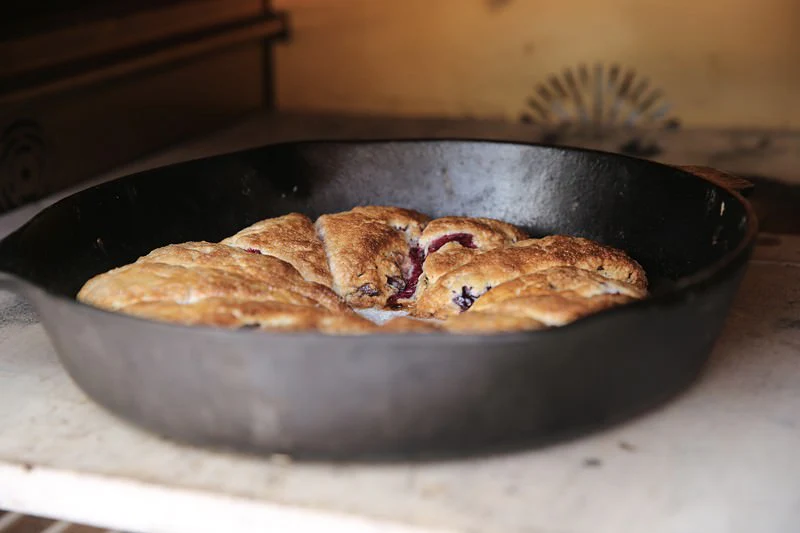
Place the cast-iron skillet in the pre-heated wood-fired Gusto oven at 400°F.
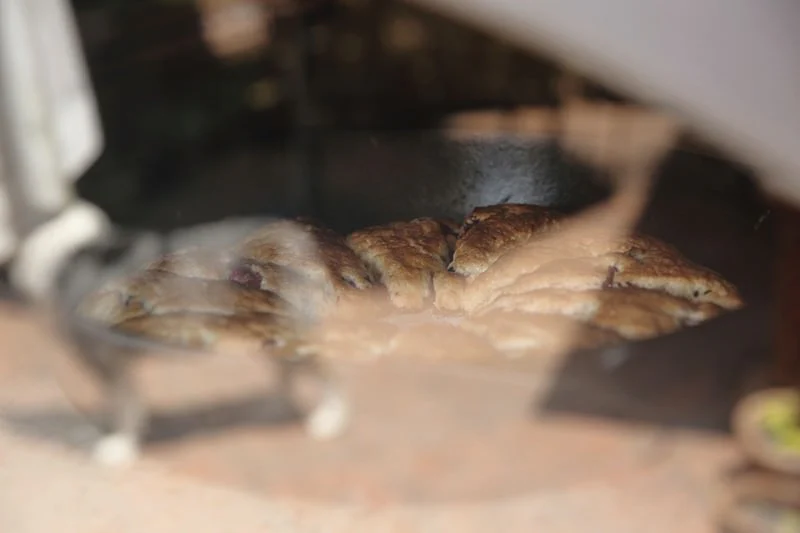
Bake until golden brown for 15 to 18 minutes.
Almost ready!
Carefully remove the skillet from the oven.
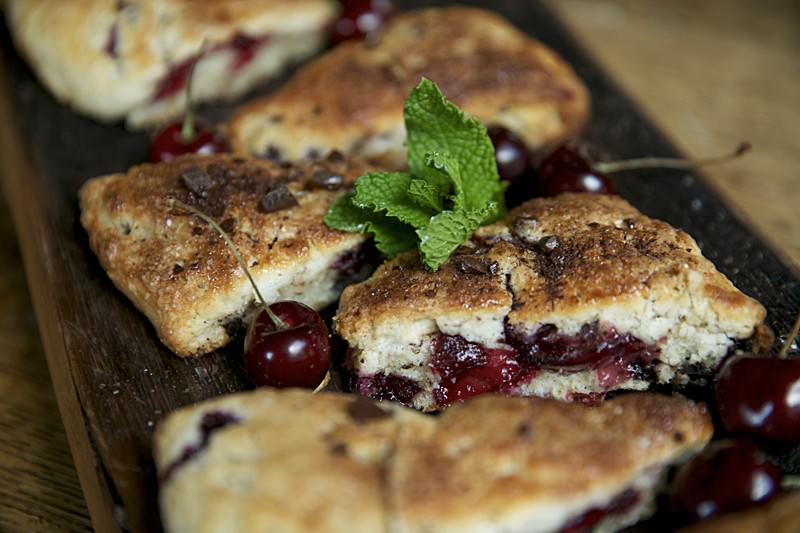
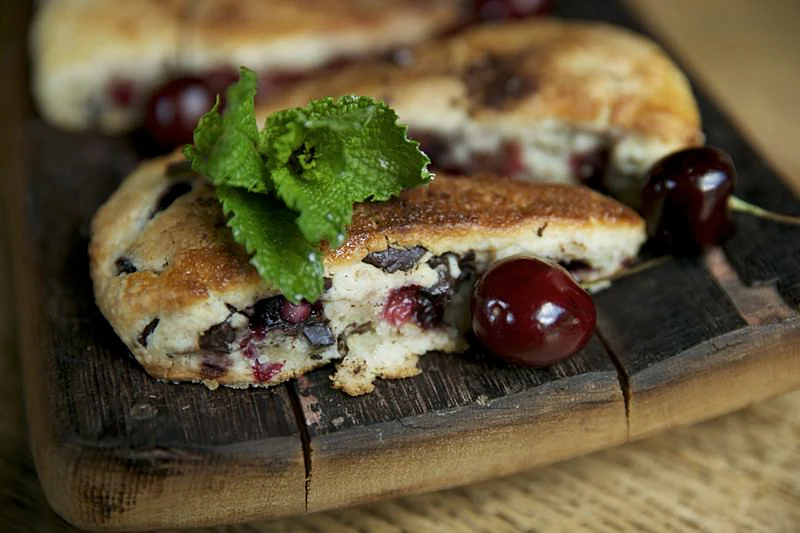
Perfect and ready to serve!
Place the scones on your favorite serving dish and garnish with fresh cherries, bits of chocolate and a sprig of mint. Enjoy!