Simple Bread Dough Recipe
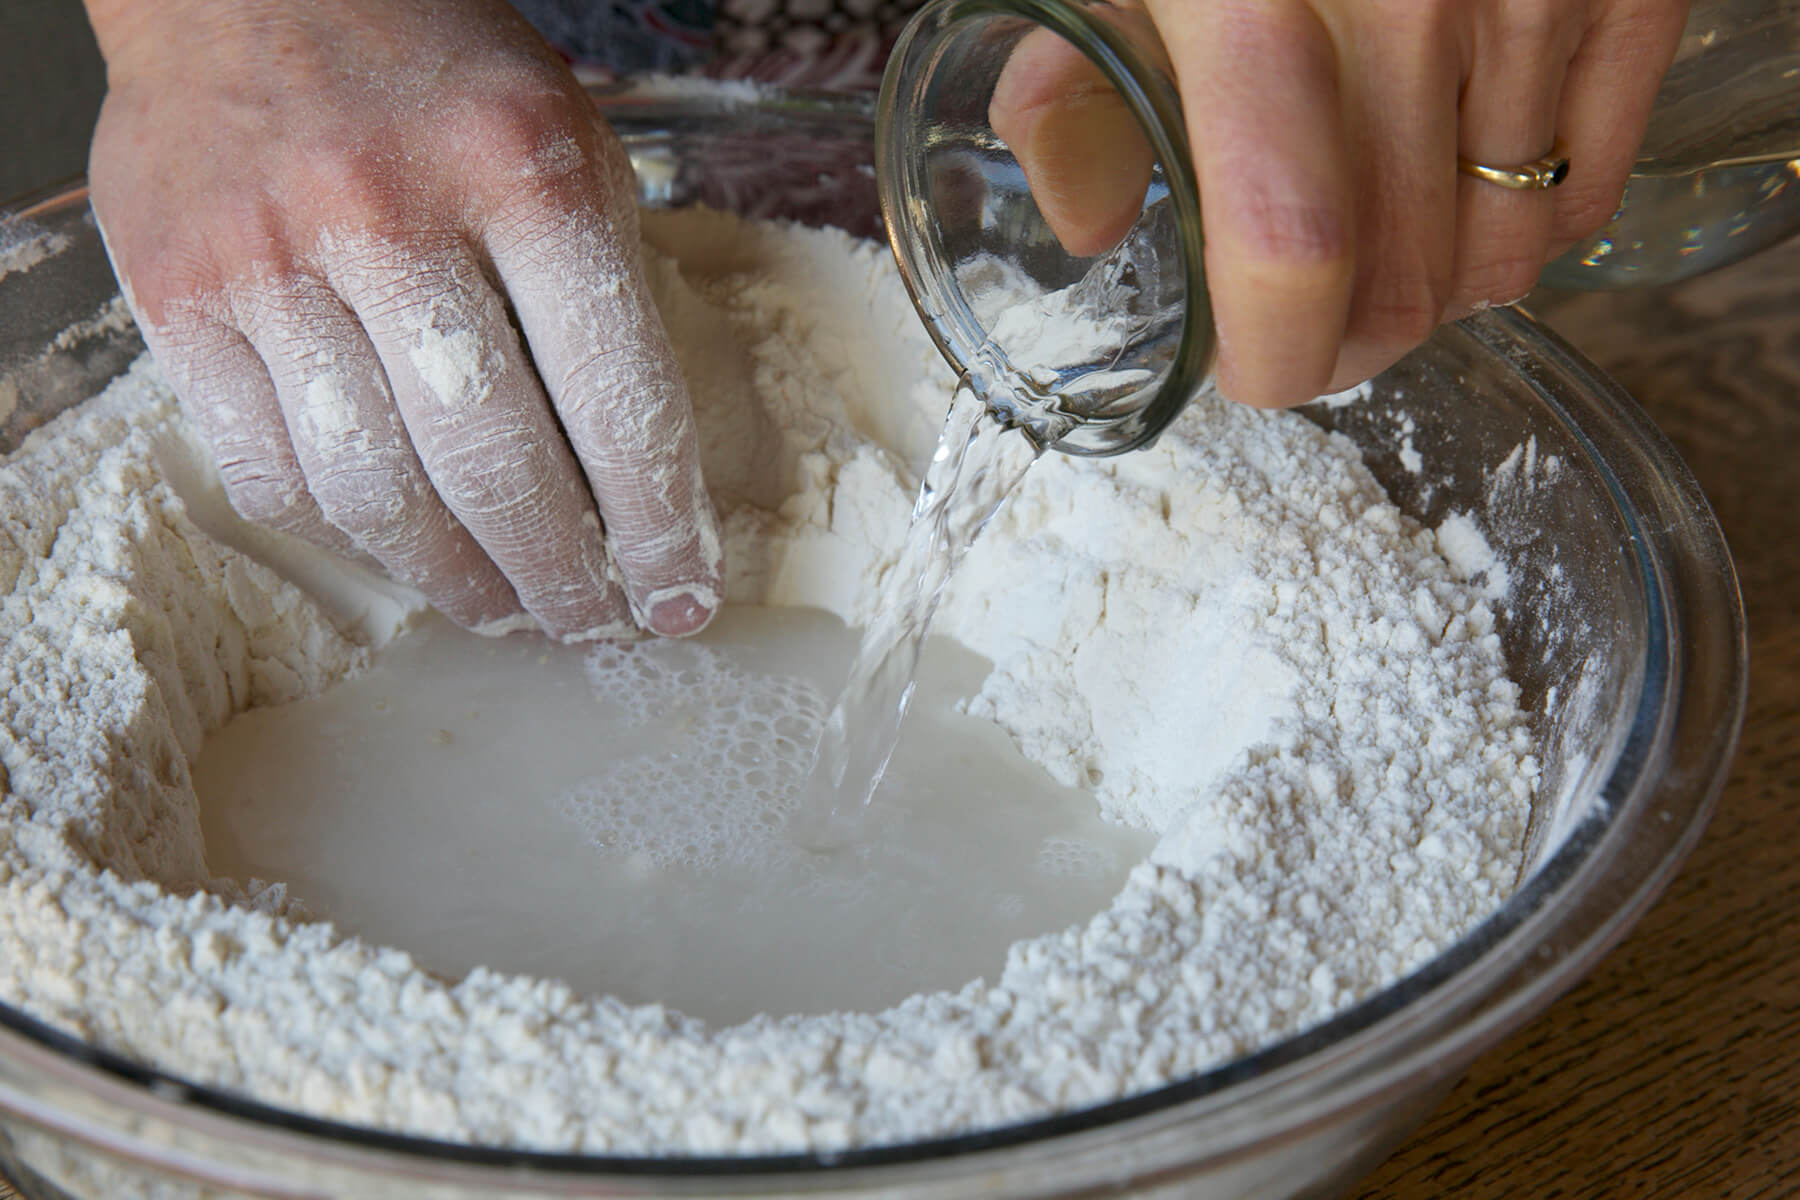
Bread can be made in many different ways. Depending on the choice of flour, the hydration percentage (amount of water in the mix), and the method of fermentation, you will create different results both in flavor and texture. Today we will make a dough that is very basic, and very simple to work with. Any beginner in the beautiful and addicting journey of bread making can be successful. The beauty of baking in a wood-fired oven adds to the magic of baking fresh bread at home.
Ingredients:
- 2 1/3 cups bread flour - 300 grams
- 5 2/3 cups all-purpose flour - 700 grams
- tepid water - 630 grams 63% hydrated
- 1 teaspoon instant dry yeast - 4 grams
- 1 1/2 Tablespoon salt - 20 grams
When measuring our ingredients, we prefer to use the metric system along with a digital scale. We have found the measuring method yields more consistent results in our recipes. We would encourage you to adopt this same method.
Recipe:
Simply mix the bread flour with the all-purpose flour. Add 20 grams of salt and mix thoroughly with the flour. Make a well in the center of the flour.
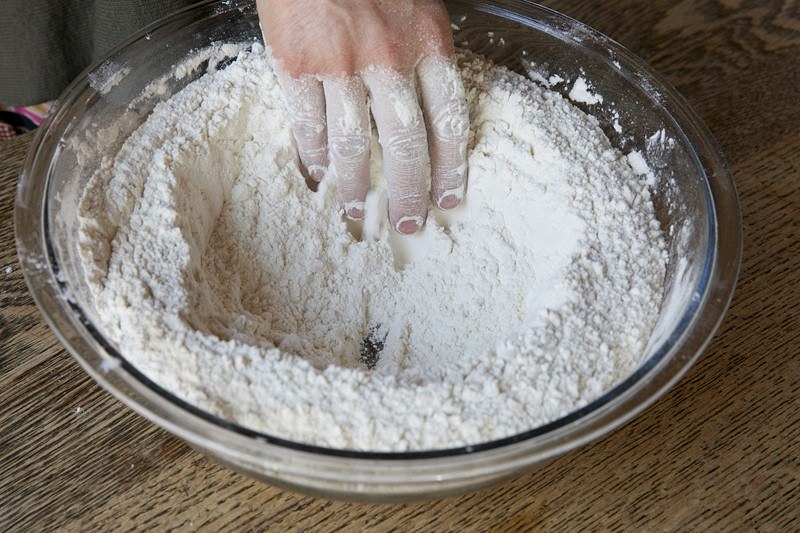
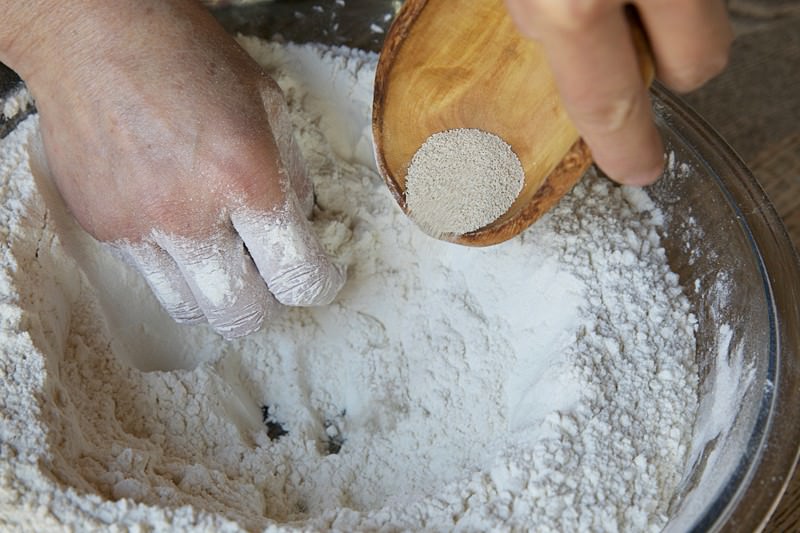
Add the yeast.
Pour the tepid water over the yeast.
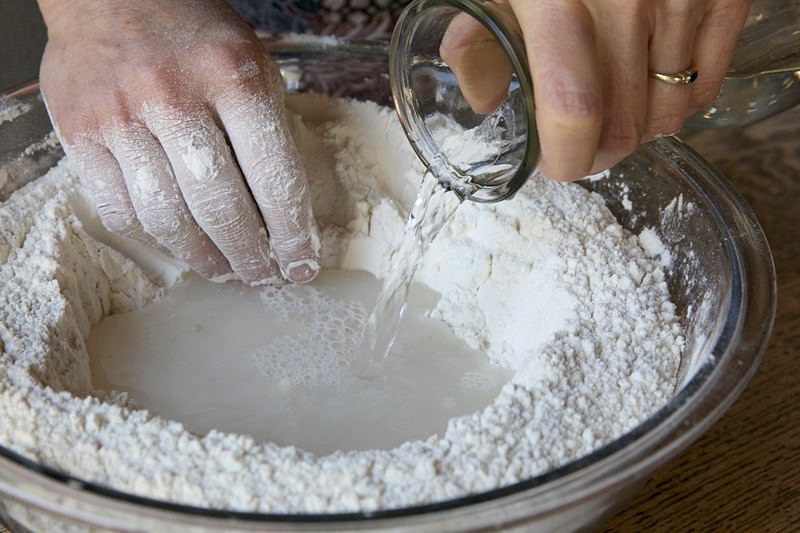
Incorporate some of the flour with the water and yeast.
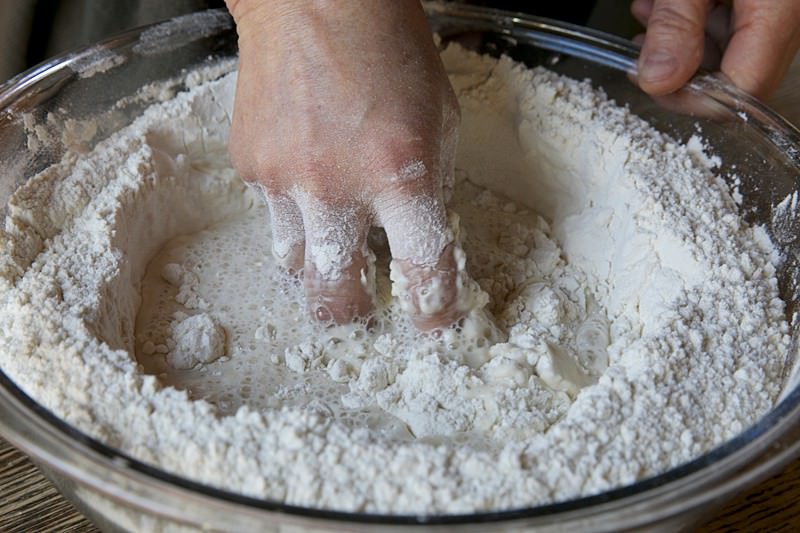
Allow the mixture to rest for about 5 minutes.
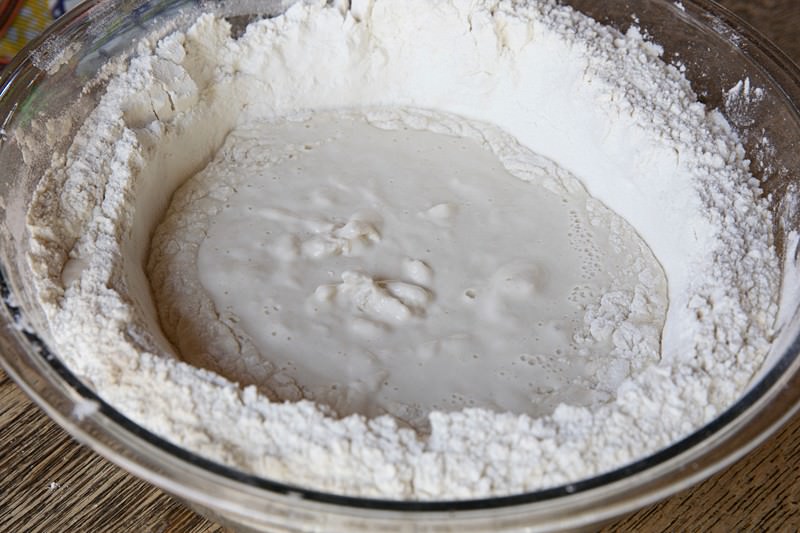
With the help of a plastic dough spatula, or your hands begin incorporating all the flour with the water.
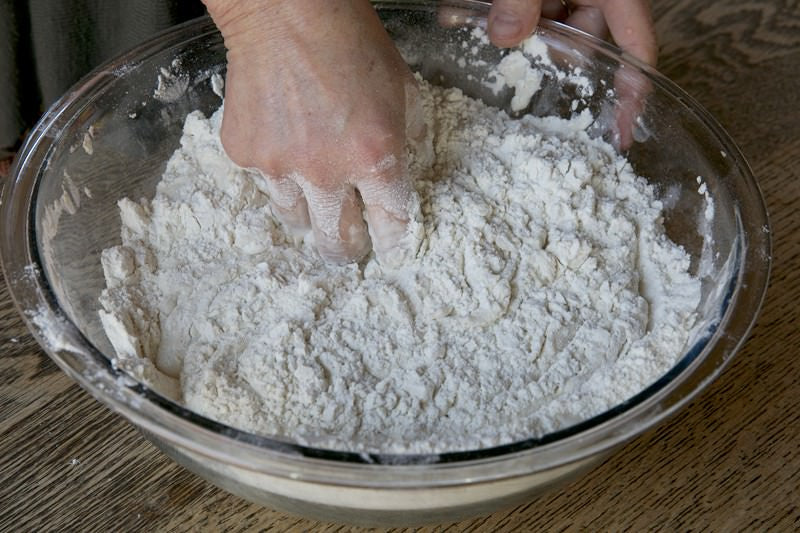
Remove any excess dough from your hands.
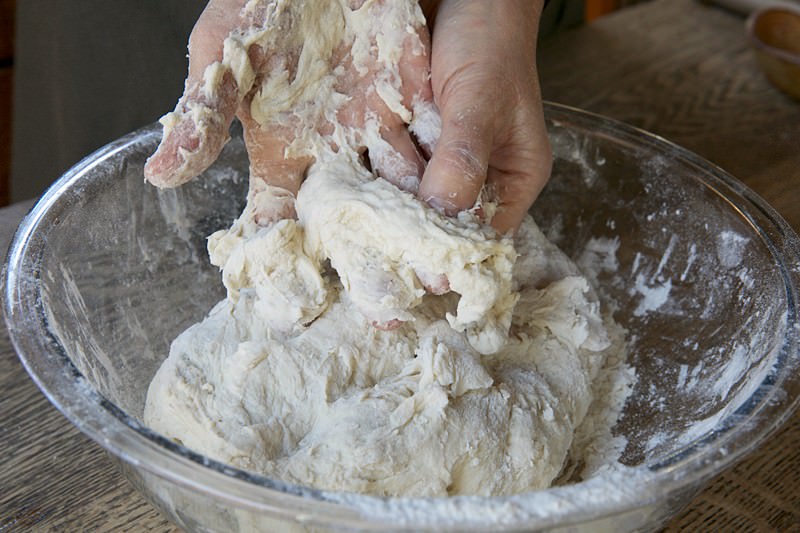
Begin kneading inside the bowl just long enough for all the flour to be absorbed into the dough. As soon as all the dry ingredients are well incorporated you are ready for the next step.
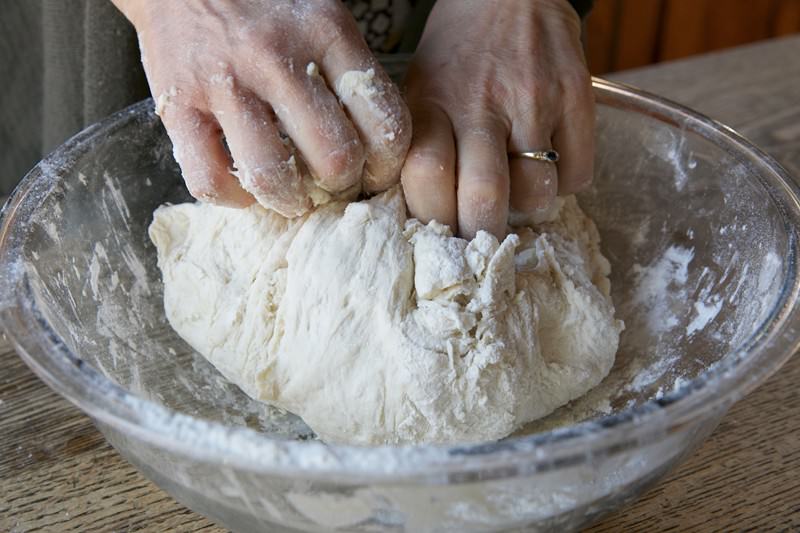
Transfer the dough on a clean surface dusted with some flour to prevent the dough from sticking, and bring it all together, forming it into a ball.
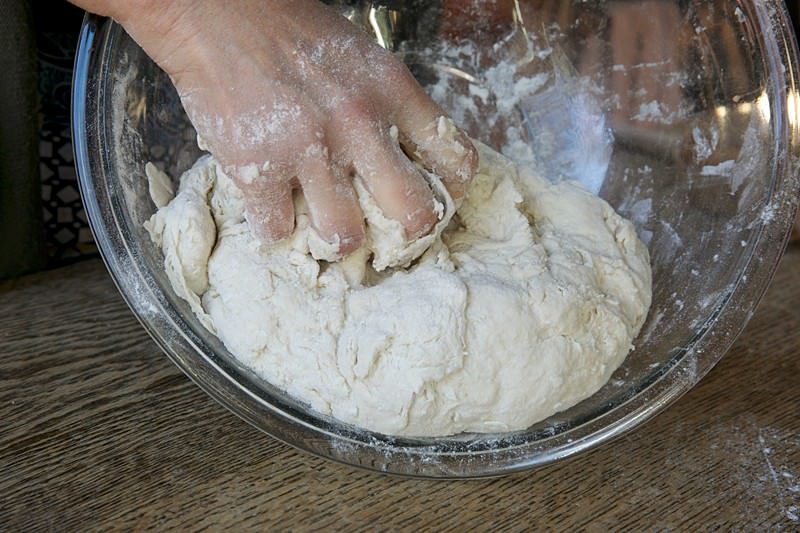
Begin kneading the dough by simply grabbing it with both hands and folding the furthest part of the dough toward you and on top of itself.
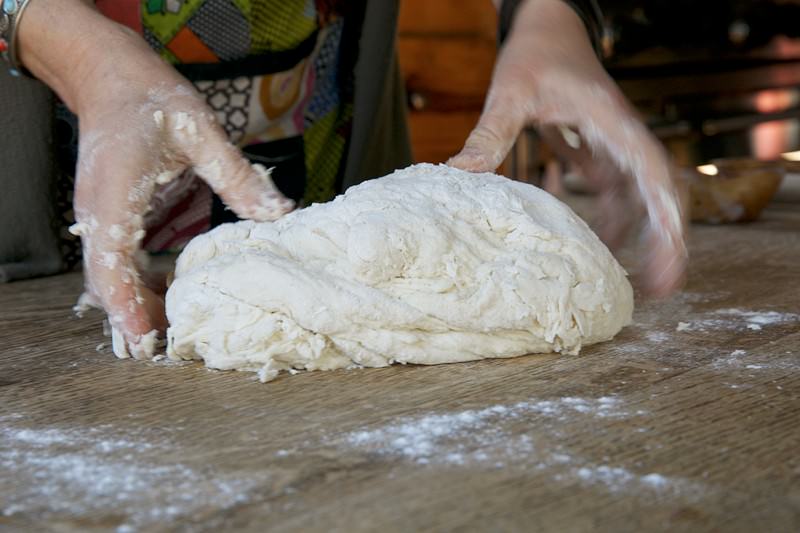
Press the heels of your hands into the folded dough, pushing slightly forward, and away from you. Some bakers call this "punching" the dough. Slightly rotate the dough and once again fold the furthest part of the dough toward you and on top of itself.
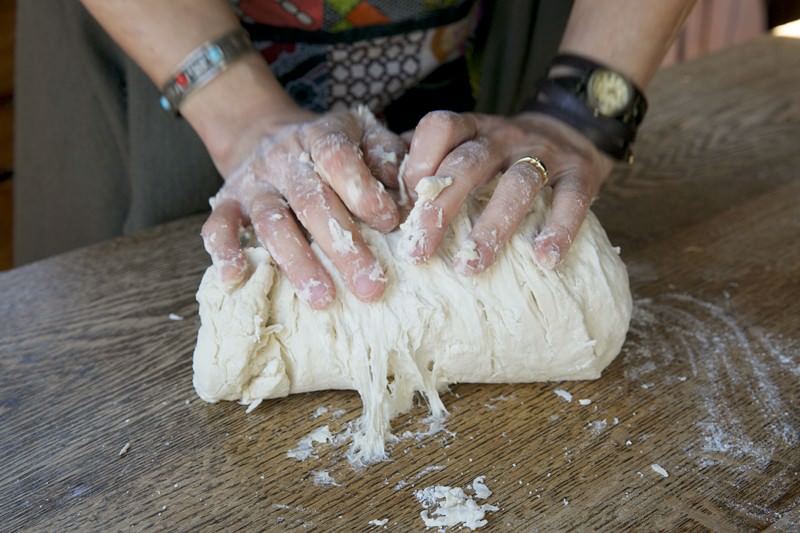
Once again, press the heels of your hands into the dough, pushing slightly forward, and away from you. This process begins the important gluten development.
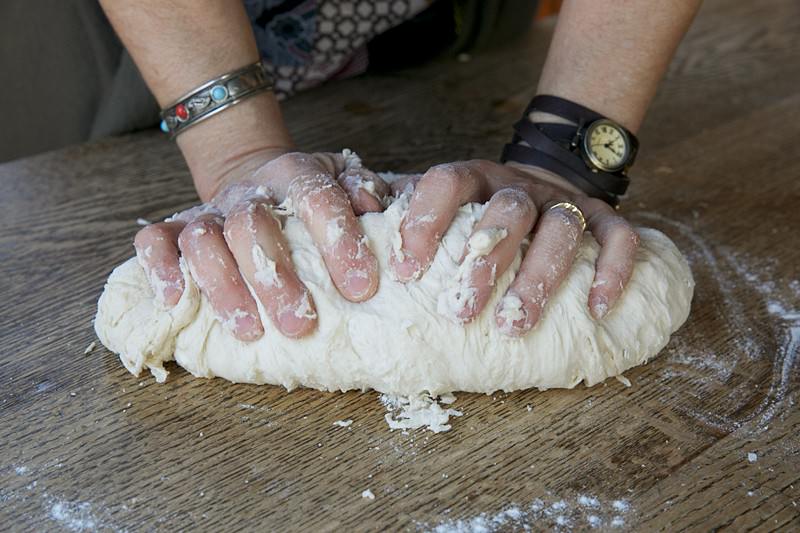
Rotate the dough ball and begin the process again. With quick decisive movements, fold the dough toward you on top of itself, and once again with a pushing motion press on it with the heels of your hands and away from from you. Every time give the dough a quick, slight turn.
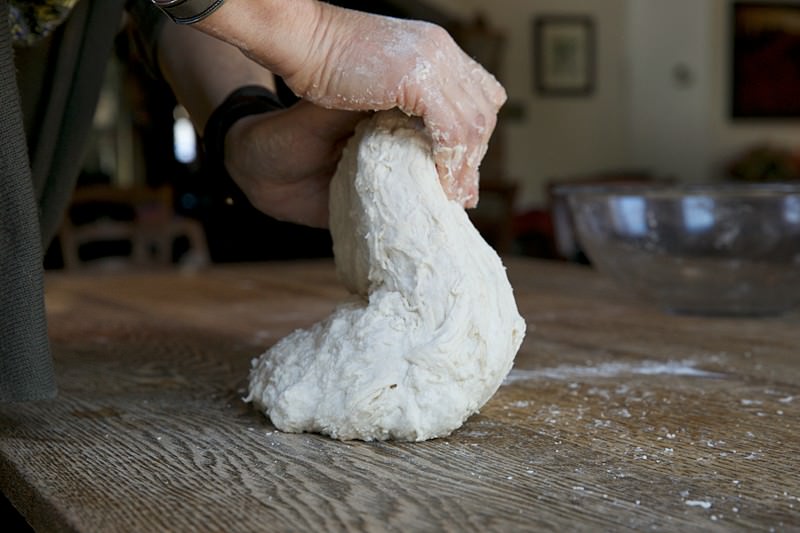
Simply grab it, fold it in half, and push with the heels of your hands in a stretching motion away from you. Repeat for 8-10 minutes.
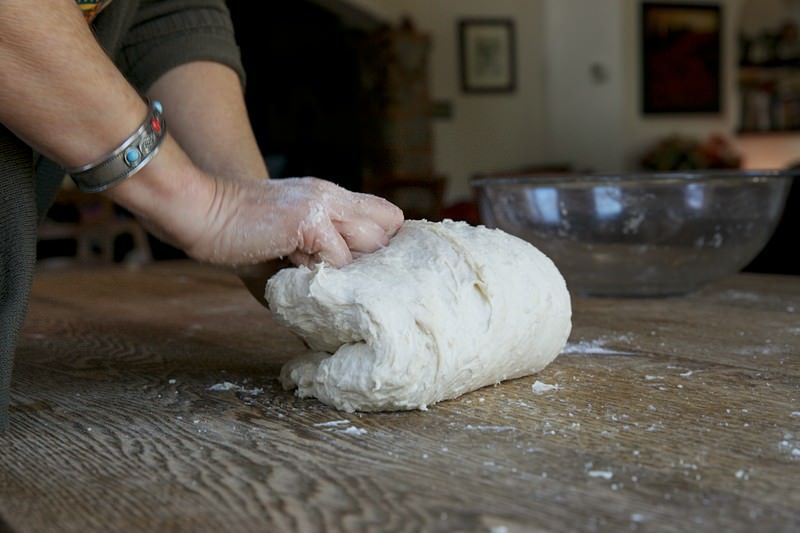
Press down with the heel of both hands and push away from you.
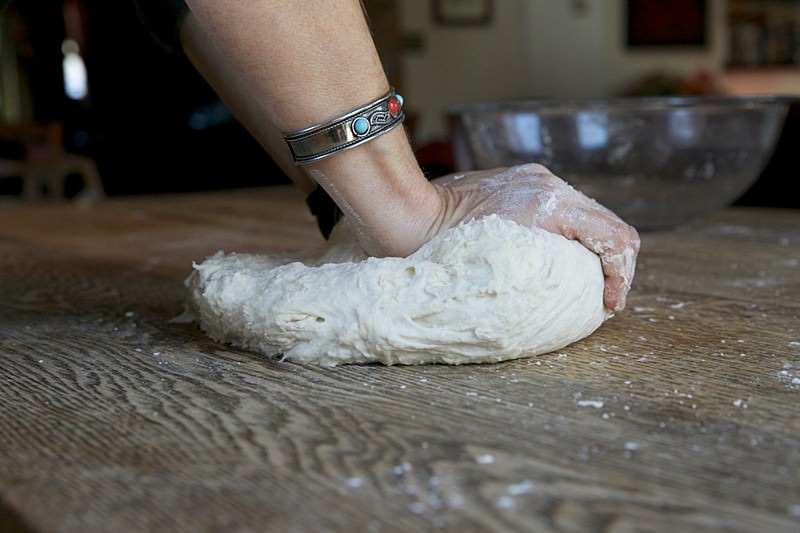
You will notice that the dough starts out by being lumpy and not uniform, but after 8-10 minutes of kneading it should have a shiny and smooth surface.

The dough is now smooth with a shiny surface and ready to rise!
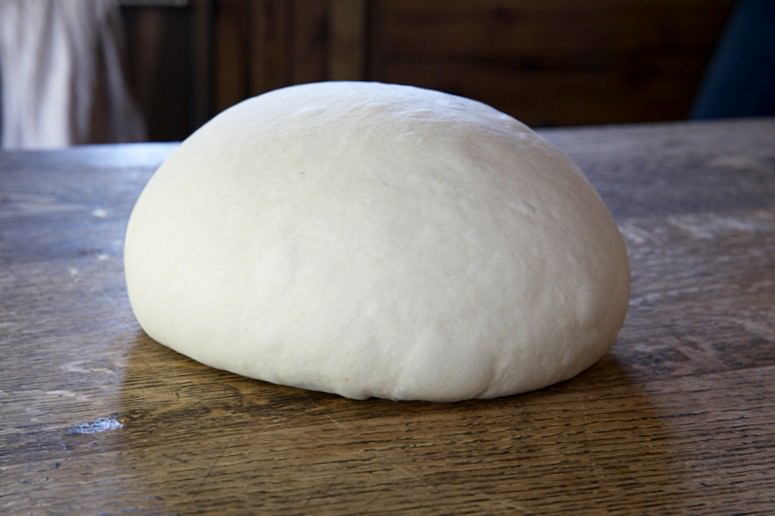
Pick up the dough ball and place it into a food safe container covered either with a lid, a damp cloth or plastic wrap. It is optional to coat the bottom of the container with a small amount of oil. Doing this will allow the risen dough to come out more easily once it is doubled in size.
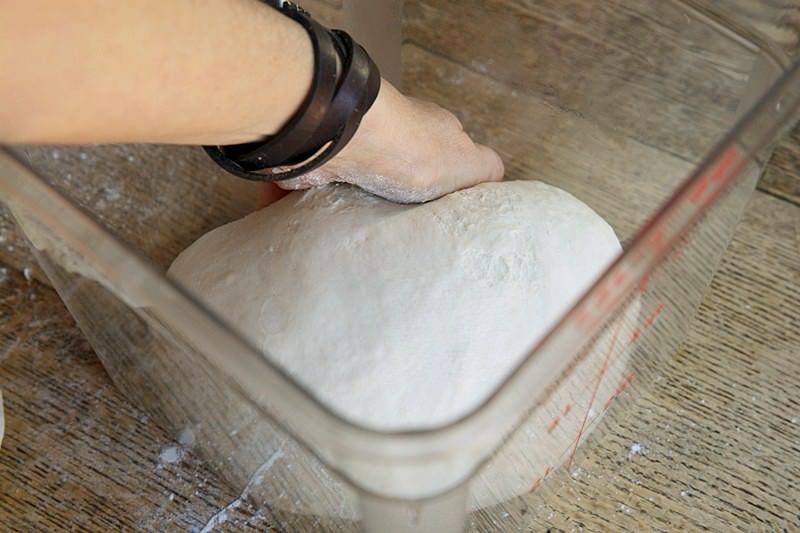
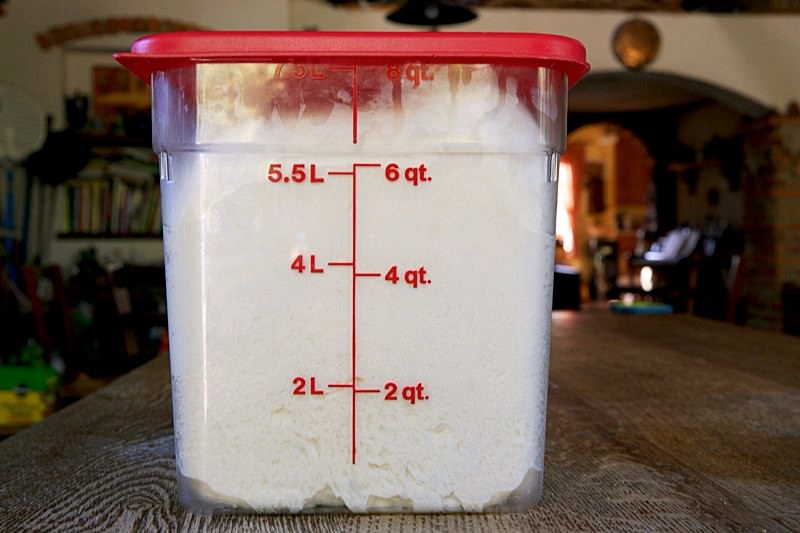
Place the container in a warm area of the house and allow the dough to rise.
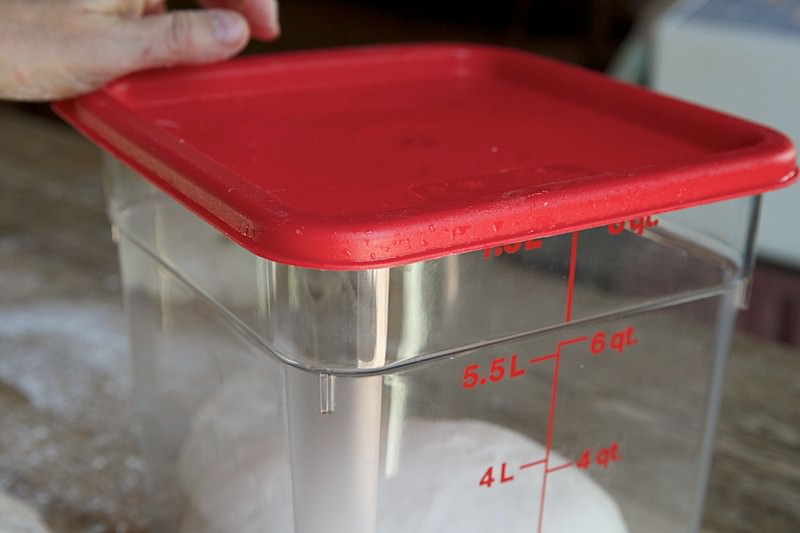
This is what your dough will look like initially.
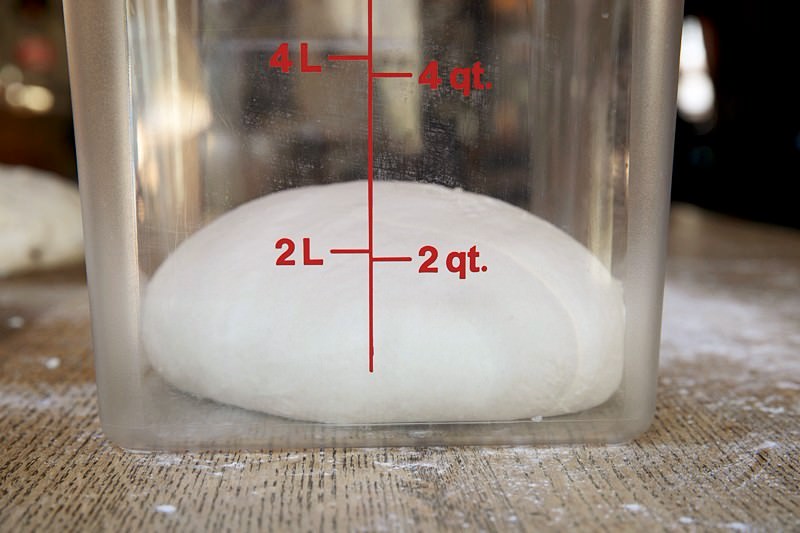
After the dough has risen for about two hours, you are ready to divide it and shape it.
To continue with the process of shaping and baking this bread, click HERE!
What is your favorite bread recipe? Which hydration percentage do you prefer when baking bread?
Tag #fontanaforniusa with an image of your creation made with this recipe.


