Ciabatta with Poolish
Ciabatta with Poolish
Recipe:
Ciabatta prepared with a Poolish as a pre-ferment, is definitely THE BREAD that must be added to the baking repertoire of every kitchen. Rustic in appearance, but purely delicious in flavor, this airy, light bread presents itself with a crunchy exterior crust and a mouthwatering, chewy and delicate crumb. Ciabatta dough can be challenging to make at first because it is super hydrated, and a bit intimidating for beginners. Most would recommend a mixer to get the job done, but the satisfaction of making this dough with your hands far outweighs the challenge. No true pre-shaping or shaping is required. The few challenges with working this dough should not be reason to shy away from baking this fabulous, classic Italian bread. With just a few helpful hints this dough will quickly be mastered and CIABATTA will become a most loved and frequently baked bread in your home. Let's get started!
Supplies:
-
Bench scraper
- Rubber spatula
- Infrared Thermometer
- Bowl for mixing
- Food safe container with lid
Ingredients:
For Poolish:
- 300 grams bread flour (King Arthur Bread Flour 12.7% protein)
- 300 grams water
- 1/8 tsp instant dry yeast
For final dough:
- 600 grams All Purpose Flour (King Arthur All Purpose Flour 11.7% protein)
- 100 grams Freshly milled whole wheat Verna Flour - or whole wheat flour
- 500 grams water for the final dough (80% hydrated including the H2O from Poolish)
- 1/2 teaspoon instant dry yeast for the final dough
- 18 grams salt
- 600 grams Poolish
Directions:
POOLISH:
- The night before making the ciabatta, make the Poolish by simply mixing 300 grams Bread flour with 300 grams water, and 1/8 tsp yeast. Be sure to incorporate all ingredients thoroughly, as there should be no dry flour present.
- Place the Poolish into a food safe container with a lid. If placed into a bowl the Poolish can be covered with plastic wrap. Allow to rest on the countertop for at least 5 hours or overnight at an ideal temperature of about 70°-75°F - 21°-23°C.
FINAL DOUGH:
- Place the All purpose flour, the Verna whole wheat flour and 1/4 teaspoon yeast into a large capacity bowl. Mix thoroughly.
- Remove the lid or plastic wrap from the Poolish which will have doubled in size. You will notice a very airy and bubbly appearance.
- Pour most of the water all around the edge of the poolish which will allow it to be released from the bowl more easily. Reserve about 1/2 cup of the water and set aside. (115 grams)
- Pour the Poolish over the flour in the bowl. With the help of a plastic spatula begin to mix all ingredients until all the flour is well incorporated.
- Allow the dough to rest for about 15-20 minutes.
- After this time, pour a small amount of the reserved water and then the salt evenly over the top of the dough. Make sure to reserve some water for working the dough later, about 1/4 cup. With a pinching method of your hand and fingers incorporate all the salt into the dough, as shown in the video.
- Bulk Fermentation is now the next step which will take about 1.5 to 2 hours.
- Allow the dough to rest for 15-20 minutes. Initially this wet dough will lack a smooth appearance, but do not worry as it will quickly develop a perfect consistency and become nice and supple with a beautifully smooth surface.
- There are different methods of working this wet dough and building strength into it. One method is commonly known as the Stretch and Fold Method performed about 3-4 times in the first hour repeating every 20-25 minutes.
- With the stretch and fold method one simply gives the dough 4 folds as shown in the video. With a wet hand or the the help of a rubber spatula, grab the dough from the bottom of the bowl and simply stretch it as far as it will easily go, folding it over the rest of the dough.
- Rotate the bowl 1/4 of the way and once again with a wet hand or the rubber spatula do the same process as above. Again rotate the bowl 1/4 of the way repeating the stretching and folding. Cover the dough for an additional 20-25 minutes. When time is up, repeat the stretch and fold process two more times with rest periods in between.
- The second method is the Slap and Fold Method or French Fold, as shown in the video. It is a perfect way to work high hydrated doughs.
- Once all ingredients have been well incorporated as explained above, simply place the sticky dough on the work surface that has NOT been dusted with flour. At first it will seem an impossible task and unlikely that it will come together.
- Place both hands in the small amount of water that was reserved. Grab the dough with both hands, fingers under the dough and thumbs above. With a smooth and decisive movement lift the dough off the work surface and up into the air, as shown in the video.
- Now slap the part of the dough hanging down onto the work surface. As this movement happens, fold the rest of the dough held in both hands by moving away from you, and over the dough on the table. Do this while still holding the dough and spreading both hands apart, almost as to create dough wings before folding it over.
- Once again grab the dough, stretch it all the way off the table, slap it down, spread your hands out into a fluid motion, and once again fold the dough over itself. This becomes a satisfying rhythm, a beautiful dance all while, air gets trapped in with each fold.
- Do this slap and fold motion about 5 times, then allow the dough to rest for 5 minutes in between in order to let the gluten strands relax. Over-stretching the dough will cause the gluten strands to tear.
- Repeat the 5 slap and folds and allow it to rest 5 minutes. Each time the dough has rested, it will change in appearance and become more cohesive and smooth.
- The dough will end up with a smooth cloak. Once either method has been completed, transfer the dough into a bowl or a food safe container with a lid and cover. Allow to proof at room temperature for at least one hour before placing in the refrigerator overnight.
- The next day preheat the oven to 475°F - 246°C. Place a drip pan or a cast iron skillet into the lowest rack of the oven, and if there is space, place another pan or skillet on the same rack where the ciabatta will be baked. It is in these pans / skillets where you will pour water to generate steam inside the oven necessary for a good oven spring.
- Remove the dough from the refrigerator, and GENEROUSLY dust the top of the dough with flour. Can't stress the word "generously" enough!
- Generously dust the table or work-surface.
- Gently release the edges of the dough from the container with the help of a rubber spatula. Make sure NOT to degas the dough. With a decisive movement invert the container over the work-surface and allow gravity to release the dough onto the flour dusted table.
- Once again, dust the surface of the dough.
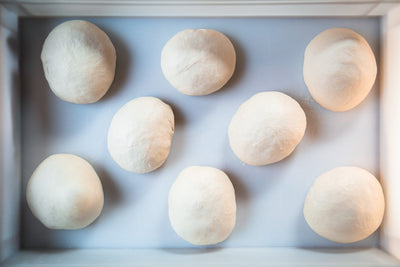
- Carefully shape the dough into a pillowy rectangle.
- With the help of a bench scraper divide the dough into four rectangles making sure to separate them each time you make a cut. This will prevent them from sticking back together. Dust the edges that have just been cut with additional flour. Be careful as to not degas the loaves.
- With the help of the infrared thermometer check the temperature of the baking stone inside the oven.
- Generously dust the peel with a mixture of cornmeal and flour.
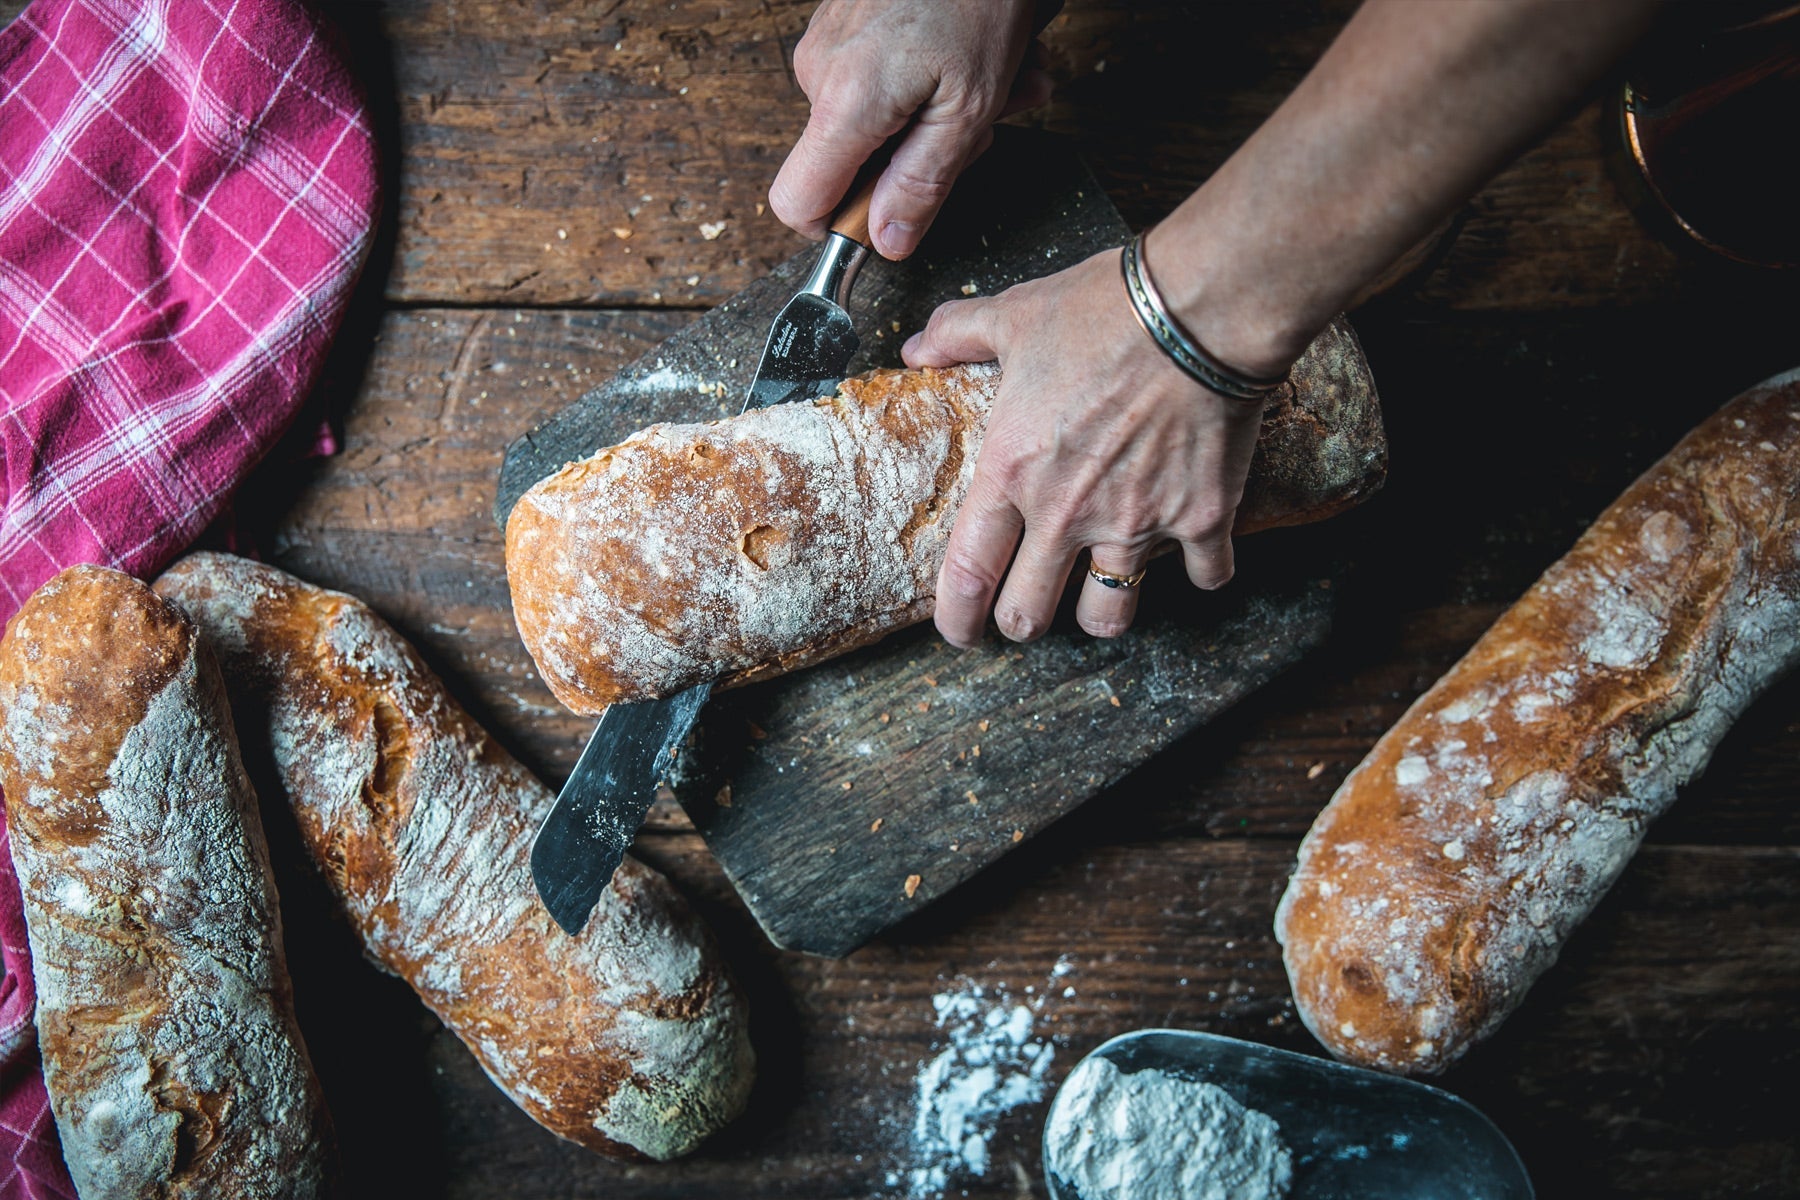
- As shown in the video, place both hands on the ends of a dough rectangle and with a decisive, quick motion slide your fingers under the dough, lift and transfer on the dusted peel. Repeat with each loaf. Be gentle with the dough.
- Fill the pan on the bottom shelf that has been preheating in the oven with water. Close the oven door.
- The ciabatte (plural of ciabatta in Italian) can now be transferred into the oven. Open the door and pour some water into the pan resting in the very front of the baking oven where the ciabatta will be placed. Carefully push the pan to the very back of the oven.
- Quickly slide the peel to the very back of the oven and with a decisive backward movement pull the peel out toward you. The bread will slide off the peel, and rest on the baking stone.
- Close the door immediately. In the first five minutes slightly open the oven door to spritz some extra water inside the oven chamber, thus creating more steam.
- With all the opening of the oven door the ideal oven temperature should now be at 450°F - 232°C. Bake for about 15 minutes as steam engulfs the oven chamber.
- After 15 minutes remove the pans, if they still have water in them, and vent the oven for a few seconds to allow any residual steam to come out. The ideal temperature of the oven at this point should be at around 425°F - 218°C. Bake for an additional 20-25 minutes.
- It is finally time to remove the bread from the oven. Allow it to rest on a cooling rack and get ready for an AMAZING treat. Enjoy!
Buon Appetito!
Subscribe to our YouTube channel for more videos!
Follow us on Instagram and tag us with your culinary magic! We would love to see how you make this recipe!
@FontanaForniusa #fontanaovens
@inside.our.kitchen #insideourkitchen
Poolish
What is POOLISH? A poolish is essentially a pre-ferment made with equal parts of flour and water mixed with a very small amount of yeast. This wet mixture is then allowed to ferment for many hours. As you give the pre-ferment time to get activated it will develop not only great structure, but also amazing flavor that will be added to the final dough. Usually poolish is added to a dough that is more hydrated thus creating more extensibility in the dough.
In Italy we use a pre-ferment called BIGA (45%-60% hydration), in England it is called SPONGE (usually 60%-63% hydration), and in Poland and France it is called Poolish (100% hydration).