How to Make Mozzarella at Home
Everyone loves mozzarella, but few people realize how easy it is to make their own! Here’s our step-by-step guide to making fresh, homemade mozzarella with just a few simple ingredients and tools.
Gather Your Ingredients and Materials
Cheesemaking is essentially kitchen chemistry. Before you get started, take the time to gather everything you need and set up your workspace.
For a basic mozzarella recipe, you’ll need:
- 1 ¼ cups water (1 cup for dissolving citric acid, ¼ cup for dissolving rennet)
- ¼ tsp (or ¼ tablet) rennet
- 1 ½ tsp citric acid
- 1 gallon milk (not ultra-pasteurized milk, which won’t form curds)
- 1 tsp salt
You’ll also need the following tools:
- Large pot
- 2 small bowls or ramekins (for citric acid and rennet solutions)
- Digital cooking thermometer
- A utensil for cutting curds, like a knife or spatula
- Microwave-safe bowl
- Slotted spoon
- Rubber gloves (or other disposable)
The Cheesemaking Process
Once you’ve set up your space, it’s time to get cheesemaking! Here’s the process, step by step.
1. Prepare the Curd-Making Agents
Pour 1 cup of water into one of the small bowls and mix in citric acid until dissolved. Pour ¼ cup water into the other small bowl, then stir in the liquid rennet (or dissolve the rennet tablet). These two solutions are what will encourage the cheese curds to form.
2. Warm the Milk and Citric Acid Together
Pour the gallon of milk into the large pot, then stir in the citric acid solution. Warm the mixture over medium-high heat, stirring gently and watching its temperature. Heat until the milk reaches 90°F.
3. Remove From Heat and Add the Rennet
Remove the pot from the heat and stir in the rennet mixture. Continue stirring gently for a bit (15-30 seconds), then cover and let sit for about 5 minutes. This is when the rennet works its magic to create curds!
4. Cut the Curds
Check to make sure the mixture has set properly by slicing into it. If it cuts smoothly in a straight line, it’s ready. If not, cover the pot again and let it sit for a few more minutes.
When ready, use your utensil to cut the curds in a grid pattern. Make sure you cut all the way to the bottom.
5. Warm the Curds on the Stove
Place the curds on medium heat and slowly, continuously stir them. Don’t actively try to break up the curds while stirring, just gently move them around and watch their temperature. Heat to 106°F (this shouldn’t take long), then remove the pot from heat right away.
6. Stir and Separate the Curds and Whey
Once removed from the heat, continue stirring slowly for about 5 minutes. As you stir, you’ll see the solid curds separating from the liquid whey. Use your slotted spoon to scoop the curds out and place them in your microwaveable bowl. Set the hot whey liquid aside to cool for use in storage.
7. Heat the Curds in the Microwave
Heat the curds for 1 minute, then drain off any excess whey. Put on your gloves (for heat protection and hygiene) and use your hands to fold the curds a few times.
Microwave the curds again 30 seconds at a time, checking the temperature in between. Once it reaches 135°F, stop. This temperature is crucial to that mozzarella stretch.
8. Salt, Stretch, and Shape the Cheese
Still wearing your gloves, sprinkle the cheese with salt and push it in with your fingers. Pick up the “blob” in both hands and begin to stretch and fold it over itself. Work the cheese until it begins to feel tight and the texture becomes glossy.
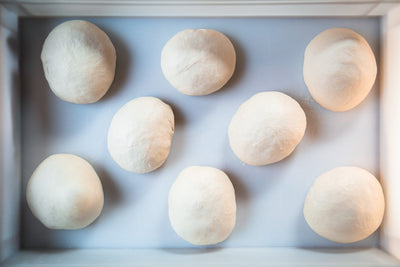
As soon as the cheese takes on the right texture, gently form it into one or more balls. Don’t over-fold, or it will lose its signature stretch and become tough.
9. Store the Finished Mozzarella
If you’re not using it all right away, you can store your mozzarella in a small container in the refrigerator for up to a week. Mix 1 cup of cooled whey liquid with 1 tsp salt and pour it over the mozzarella in its container. This helps it stay soft and moist.
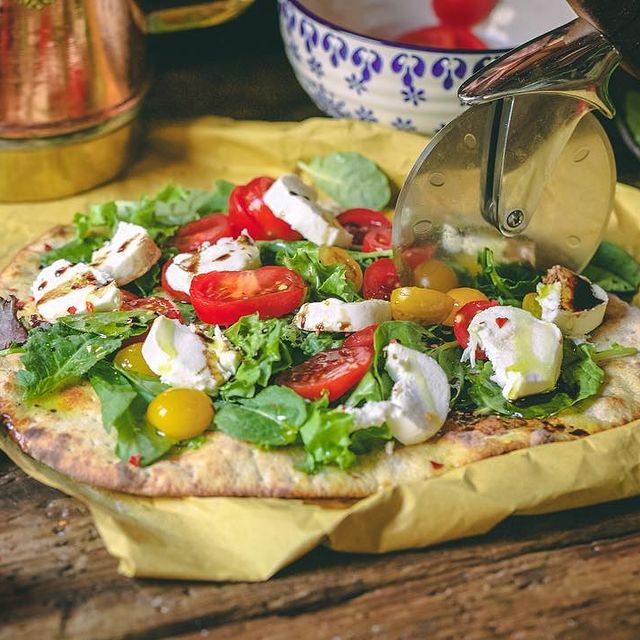
Make Delicious Pizzas with Fresh Mozzarella in Your Backyard

Is there any better use for homemade mozzarella than homemade pizza? With a Fontana Forni USA outdoor pizza oven and your new cheesemaking skill, you can create all sorts of authentic Italian dishes to wow friends and family. Take a look at our selection of expertly crafted backyard pizza ovens and let yourself imagine the possibilities!